When it comes to professional sound systems, whether it’s for concerts, theaters, or public speaking events, the importance of durable and reliable mounts cannot be overstated. Without the proper mounts, heavy-duty sound equipment, like speakers, amplifiers, and subwoofers, could easily become unstable or damaged, leading to compromised audio quality or worse—equipment failure. In this article, we will delve deep into how to fabricate durable mounts for heavy-duty sound equipment, providing detailed instructions, helpful tips, and practical considerations for building mounts that will withstand the rigors of everyday use.
Why Durable Mounts Are Crucial for Sound Equipment
Heavy-duty sound equipment is not light. Amplifiers, subwoofers, and large speakers can weigh several hundred pounds, and that’s not even factoring in the vibrations and movement that occur during use. These factors make the equipment prone to shifting or falling, especially when it’s not properly secured. To ensure the longevity of the equipment and the safety of those around it, it’s essential to fabricate mounts that can withstand the weight and stress placed on them over time. These mounts must be designed to endure the continuous vibrations and heavy loads that come with operating such equipment, making them a critical part of any sound system setup.
One of the most significant reasons why durable mounts are necessary is safety. Sound equipment, when improperly mounted, poses a real risk of falling or shifting, potentially causing severe damage or injury. For example, large speakers or subwoofers that aren’t properly secured could fall off a wall, damaging the equipment or harming people nearby. This makes it imperative to invest in mounts that are strong enough to handle the weight and provide a secure platform for the equipment to stay in place, no matter how much it vibrates or moves during operation.
Additionally, the quality of sound produced by the equipment can be affected by improper mounting. Equipment that isn’t securely mounted can vibrate or shift, leading to distortions in the audio. The vibrations from speakers, especially subwoofers, can alter sound performance if the equipment isn’t mounted on a solid, stable surface. This could result in poor audio quality, which is a major issue for professional sound systems. By ensuring that your mounts are durable and secure, you help maintain the integrity of the sound produced, allowing for a clearer, more accurate performance.
Finally, durable mounts contribute to long-term cost efficiency. Equipment that isn’t properly mounted is more likely to suffer from damage, which may require expensive repairs or even complete replacements. In addition to avoiding these costs, durable mounts help extend the lifespan of the equipment by reducing the wear and tear that comes from constant vibrations and movement. By investing in high-quality, long-lasting mounts, you protect your sound system from unnecessary damage and ensure that it continues to perform at its best for years to come.
Choosing the Right Materials for Mount Fabrication
| Material | Benefits | Drawbacks | Ideal Use | Cost Considerations |
| Steel | High strength, long-lasting, resistant to wear and tear | Heavy and may require specialized equipment to handle | Heavy-duty, high load-bearing applications | Moderate to high cost due to durability |
| Aluminum | Lightweight, corrosion-resistant | Less strong than steel, may need reinforcement for heavy equipment | Applications where weight is a concern, such as wall or ceiling mounts | Low to moderate cost, more affordable than steel |
| Stainless Steel | Corrosion-resistant, strong, durable | More expensive than regular steel | Harsh environments, outdoor venues, humid areas | High cost, but worth the investment for durability |
| Wood | Cost-effective, easy to work with, aesthetically pleasing | Not as durable or strong for heavy-duty applications | Lighter sound equipment, aesthetic installations, recording studios | Low cost, ideal for lighter installations |
Designing the Mount: Factors to Consider
Designing a mount for heavy-duty sound equipment requires careful thought and planning. Several factors must be considered to ensure the mount is both functional and reliable. Here are the key elements to take into account when designing your mount:
- Load-Bearing Capacity
- The mount must be designed to support the weight of the sound equipment, including any additional components such as cables, brackets, and accessories. It’s essential to account for both static weight and dynamic loads caused by vibrations from the equipment.
- Calculate the weight of the equipment carefully, factoring in any extra weight that might be added during use. This ensures that the mount can handle the stress it will endure over time.
- Vibration Resistance
- Vibration is inevitable when using sound equipment, particularly with subwoofers and large speakers. A well-designed mount needs to absorb and dampen these vibrations to prevent sound distortion and reduce wear and tear on both the equipment and the mount.
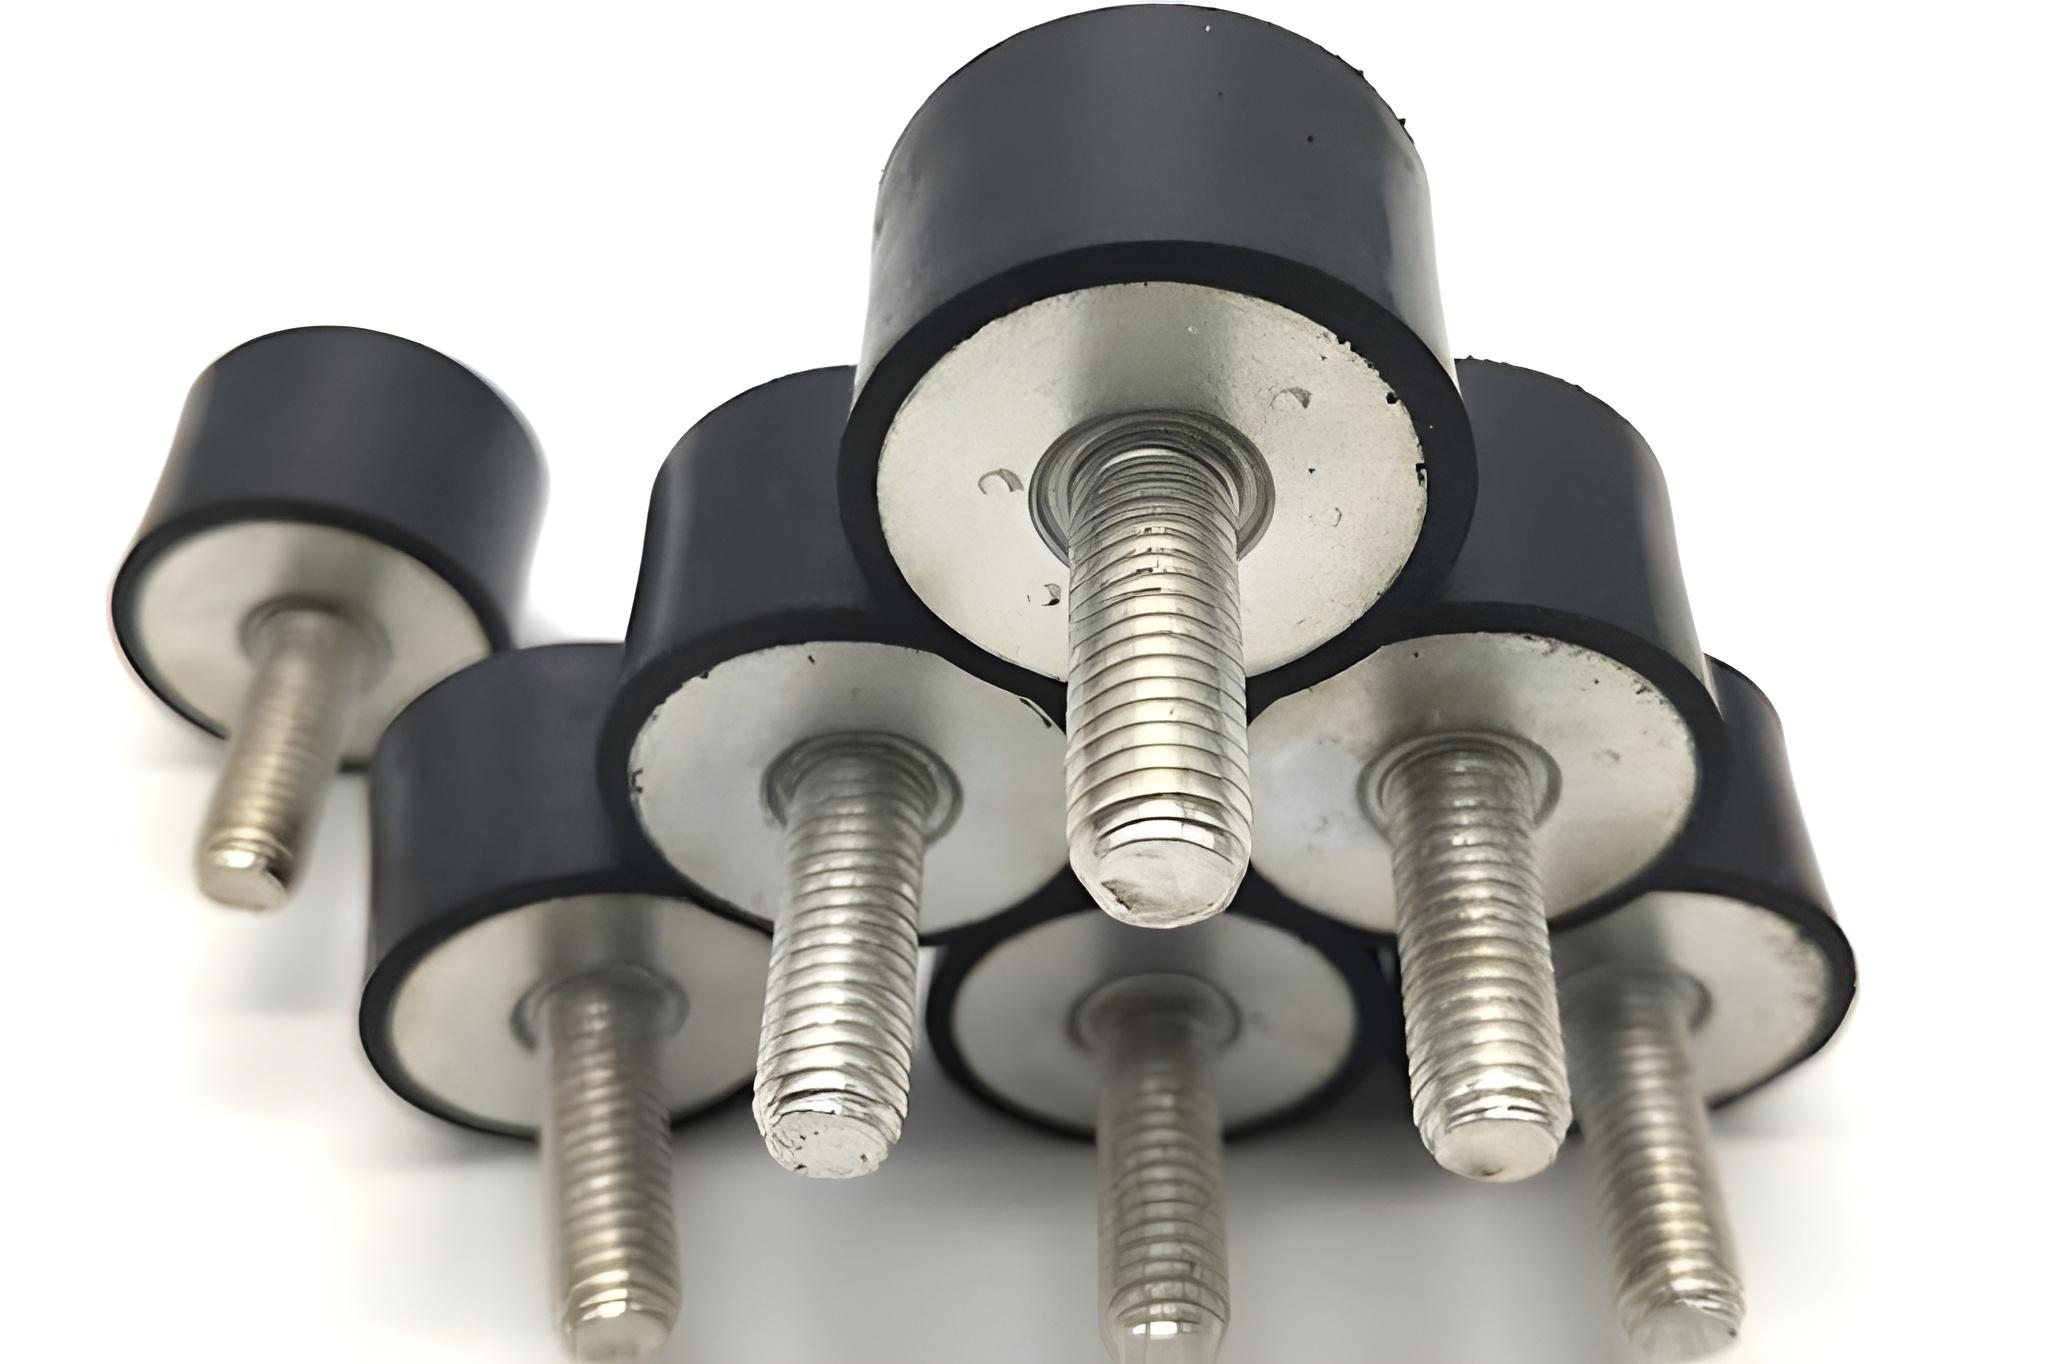
- Incorporating materials like rubber, foam, or other vibration-dampening components can help minimize the impact of vibrations, ensuring that the equipment remains stable and performs optimally.
- Mounting Location
- The location of the mount plays a significant role in its design. Whether the mount will be wall-mounted, ceiling-mounted, or placed on a floor stand will affect the type of mount you choose.
- Each location has specific requirements, such as weight distribution, ease of installation, and the need for adjustability. A wall-mounted mount might need additional support or bracing, while a floor stand might require a more rigid design to prevent wobbling.
- Adjustable vs. Fixed Mounts
- Determine whether the mount should be adjustable to accommodate different sizes or angles of equipment. Adjustable mounts offer flexibility, allowing you to change the position or angle of the equipment, but this may reduce the mount’s overall stability.
- Fixed mounts, on the other hand, offer maximum stability and security, but they are less versatile. Consider your long-term needs and decide which option will provide the right balance of stability and flexibility for your setup.
Tools and Equipment Needed for Mount Fabrication
Fabricating a sturdy mount for heavy-duty sound equipment requires a precise set of tools to ensure that the mount is strong, secure, and reliable. The process involves working with various materials, such as metal, wood, and other components, and each material requires specific tools for fabrication. For metal mounts, a welding machine is essential for creating strong joints that can hold up under the weight and stress of heavy equipment. Welding not only provides durability but also ensures that the mount can handle vibrations without weakening over time.
In addition to the welding machine, screws, nuts, bolts, and anchors are necessary to fasten the mount securely to its designated location. These components help ensure that the mount remains firmly in place, whether it is mounted on a wall, ceiling, or floor. A drill and drill bits are vital tools for making holes in both wood and metal, allowing you to attach the various parts of the mount with precision and strength. Depending on the material being used, the appropriate drill bit size and type will help you achieve clean, accurate holes.
An angle grinder is another essential tool for cutting metal, allowing you to shape and size the metal components of the mount. This tool is particularly useful for refining edges and ensuring that the parts fit together perfectly. To maintain accuracy during the fabrication process, a measuring tape is necessary for taking precise measurements of the equipment and the mount, ensuring that everything fits as planned. A level is also crucial to make sure the mount is installed correctly, preventing any tilting or uneven positioning that could affect the stability of the sound equipment.
For wood mounts, a saw will be required to cut the wood to the desired size and shape. The type of saw you choose will depend on the complexity of the cuts and the thickness of the wood. Whether you’re using a circular saw, jigsaw, or table saw, having the right tool for cutting wood ensures smooth, precise cuts that will make the mount not only functional but aesthetically pleasing as well. Finally, welding gloves and safety gear are critical for protecting yourself during the fabrication process, especially when working with metal components. Safety should always be a priority when dealing with tools and equipment, ensuring that the mount is built with both precision and care.
Step-by-Step Guide to Fabricating a Mount for Heavy-Duty Sound Equipment
| Step | Description | Tools/Materials Needed | Key Considerations | Outcome |
| Measure and Plan | Start by gathering your sound equipment and taking precise measurements. Plan the design of the mount to ensure it fits both the equipment and the space. | Measuring tape, sound equipment | Be as accurate as possible with measurements for a perfect fit. | Detailed plan and measurements to guide the fabrication. |
| Select Your Material | Choose the right material based on the weight and size of your equipment. For heavy-duty setups, steel or stainless steel is ideal. Aluminum or wood works for lighter equipment. | Steel, stainless steel, aluminum, or wood | Consider the weight and environment (e.g., corrosion resistance). | Material selected for durability and suitability. |
| Cut and Shape the Material | Using the appropriate tools, cut the selected material into the necessary shapes like brackets or plates. | Angle grinder (metal), saw (wood), measuring tools | Make precise cuts to ensure the components fit together properly. | Properly sized and shaped components ready for assembly. |
| Assemble the Mount | For metal, weld the pieces together securely. If using wood, screw or bolt the components together. | Welding machine (metal), screws/bolts (wood), welding gloves | Ensure strong joints to withstand the equipment’s weight and vibration. | Assembled mount framework ready for vibration dampening. |
| Attach Vibration Dampening Material | To reduce vibration, attach materials like rubber pads or foam inserts where the mount touches the equipment. | Rubber pads, foam inserts, adhesive | Place materials in critical areas where vibration might occur. | Enhanced vibration resistance, improving sound clarity. |
| Install the Mount | Once assembled, position the mount in its intended location (wall, ceiling, or floor). Secure it using appropriate anchors or brackets. | Drill, screws/anchors, ceiling or wall brackets, level | Ensure mount is level and securely anchored to prevent movement. | Secure and stable installation in the designated space. |
| Test the Mount | Test the mount thoroughly by securing the equipment and checking for stability. Ensure it doesn’t shift or cause vibrations during use. | Sound equipment, test equipment | Check for any instability or unwanted vibrations during use. | Fully functional and safe mount, ready for long-term use. |
Types of Mounts for Different Sound Equipment
When it comes to heavy-duty sound equipment, different types of equipment require specialized mounts. Below are some common configurations for various types of sound equipment:
- Speaker Mounts
Speaker mounts are designed to hold large, heavy speakers and are typically either wall-mounted or ceiling-mounted. They must be strong enough to support the weight and handle vibrations. Adjustable mounts allow for precise angle adjustments, while fixed mounts are more stable and secure. - Subwoofer Mounts
Subwoofers are heavier than most speakers and produce significant vibrations. Subwoofer mounts must be extremely sturdy to handle the weight and absorb vibrations. Many subwoofer mounts incorporate rubber feet or vibration isolation materials to minimize the transfer of vibrations to the surrounding structure and reduce noise distortion. - Amplifier Mounts
Amplifiers, while typically lighter than subwoofers, still require secure mounts to ensure they stay in place during use. These mounts may also need to include ventilation features to prevent overheating, as amplifiers can get quite hot during operation. Proper airflow around the amplifier is crucial for its longevity. - Microphone Stands
Microphone stands need to be adjustable and sturdy enough to hold the microphone securely. Depending on the setup, some stands are fixed in place while others allow for height and angle adjustments. Adjustable microphone mounts are essential for performances where the position of the microphone may need to be altered frequently.